
Getting started with the Plena Super App is quick and easy. Whether you're new to crypto or a seasoned pro, our user-friendly interface ensures a seamless experience. Follow this step-by-step guide to set up your account and unlock the full potential of decentralized finance at your fingertips.
Open the Plena super app
Upon opening the app, you'll be presented with three primary setup options:
Create Wallet: This option is ideal for new users who haven't yet established a crypto presence. Selecting this option will initiate the process of creating a brand new Plena Crypto Super App.
Import Wallet: If you already possess a crypto wallet and wish to import your existing holdings into Plena, choose this option. You'll need your private key or recovery phrase from your previous wallet to complete the import process.
Login with a social media account: The Plena Crypto Super App offers users the option to log in using their existing social media accounts, such as Google, Facebook, and Twitter. This method streamlines the login process and also enhances account security by incorporating two-factor authentication (2FA), adding a layer of protection for users’ digital assets.
Create Wallet:
Step 1: Click on the Create Wallet Button
To begin, open the Plena Wallet app and click on the "Create Wallet" button. This will initiate the process of setting up a new wallet.
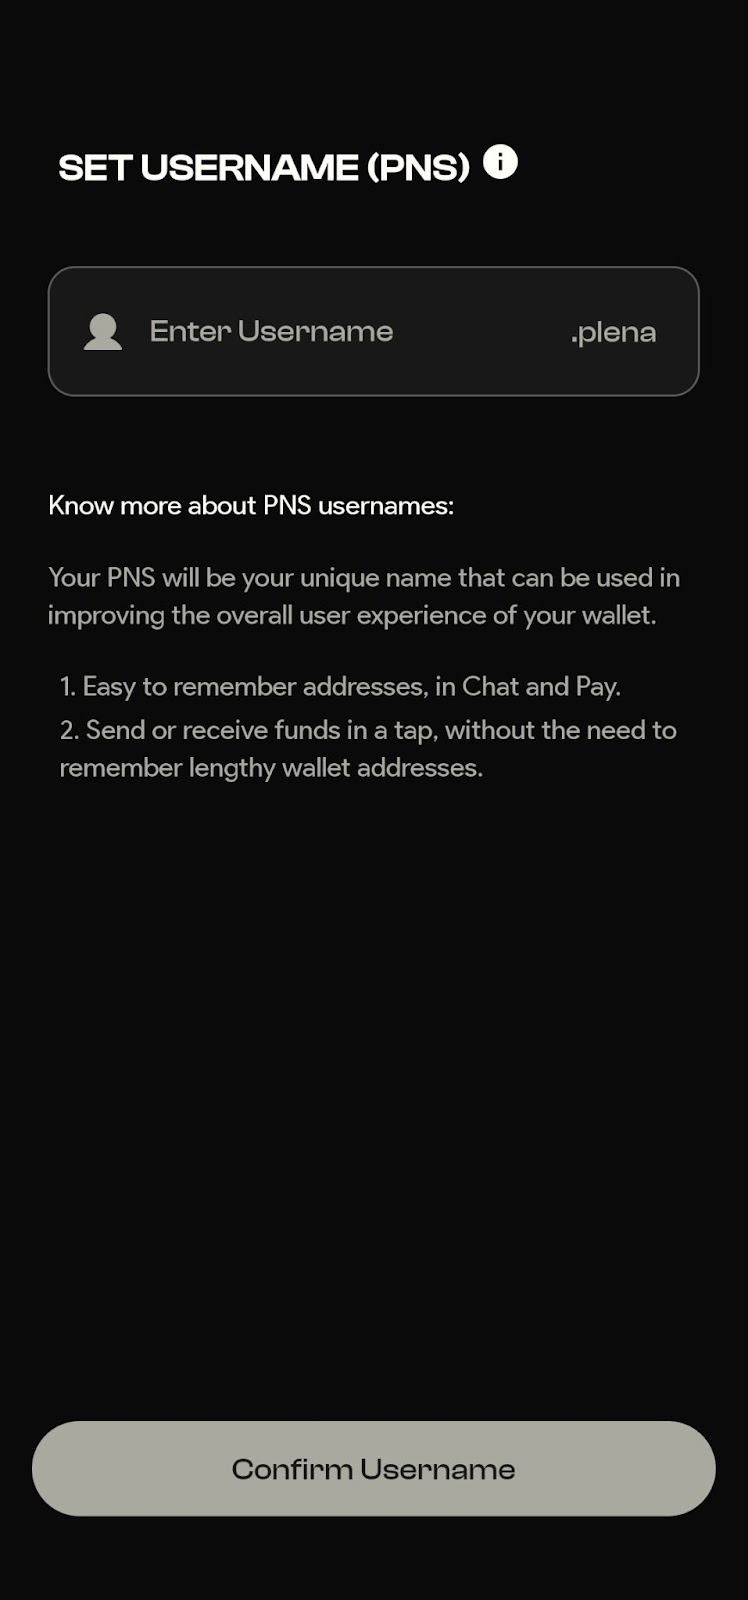
Step 2: Set a New PNS (Plena Naming System)
After creating your wallet, you will be prompted to set up a new PNS. This is your unique name within the Plena ecosystem, facilitating hassle-free transactions. Enter your desired PNS and confirm it.
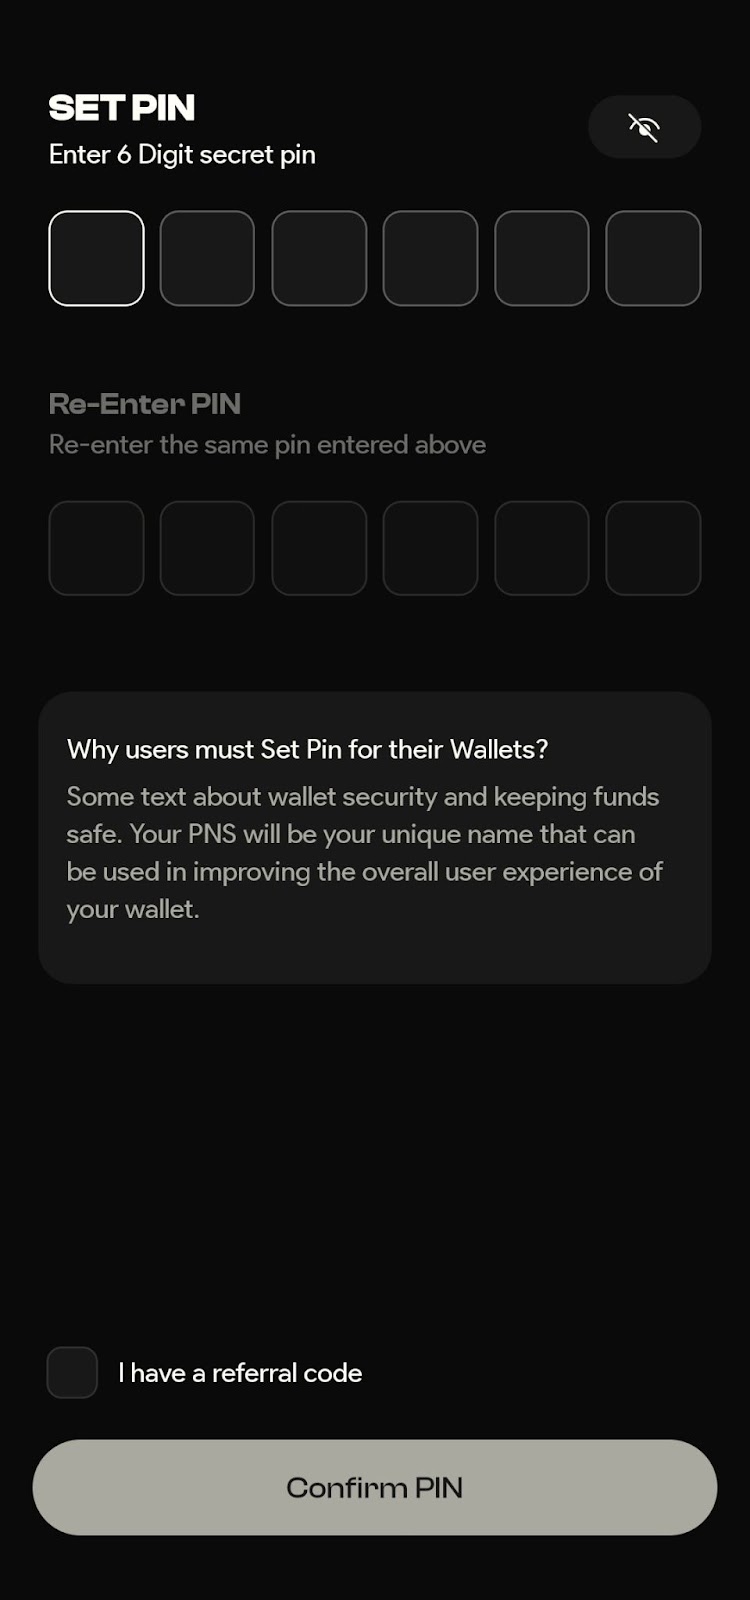
Step3: Set Up Your PIN Code
Next, you must set up a PIN code for your wallet. This PIN will be used to secure your wallet and authorize transactions. During this step, you will also see an option to enter a referral code if you have one.
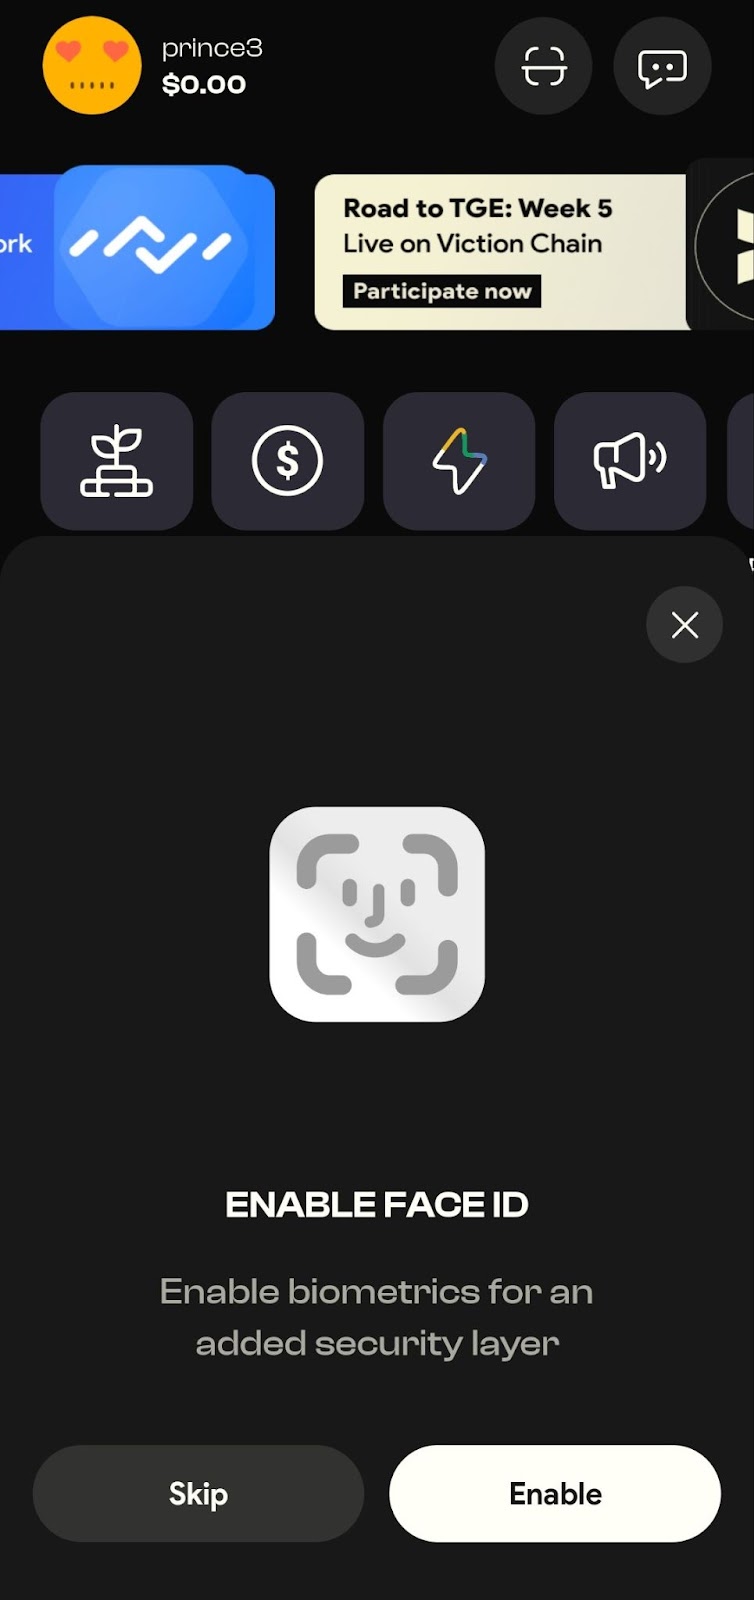
Step 4: Enable Biometrics Authentication
For added security, you will be prompted to enable biometric authentication. This can include fingerprint or facial recognition, depending on your device’s capabilities. Follow the on-screen instructions to set this up.
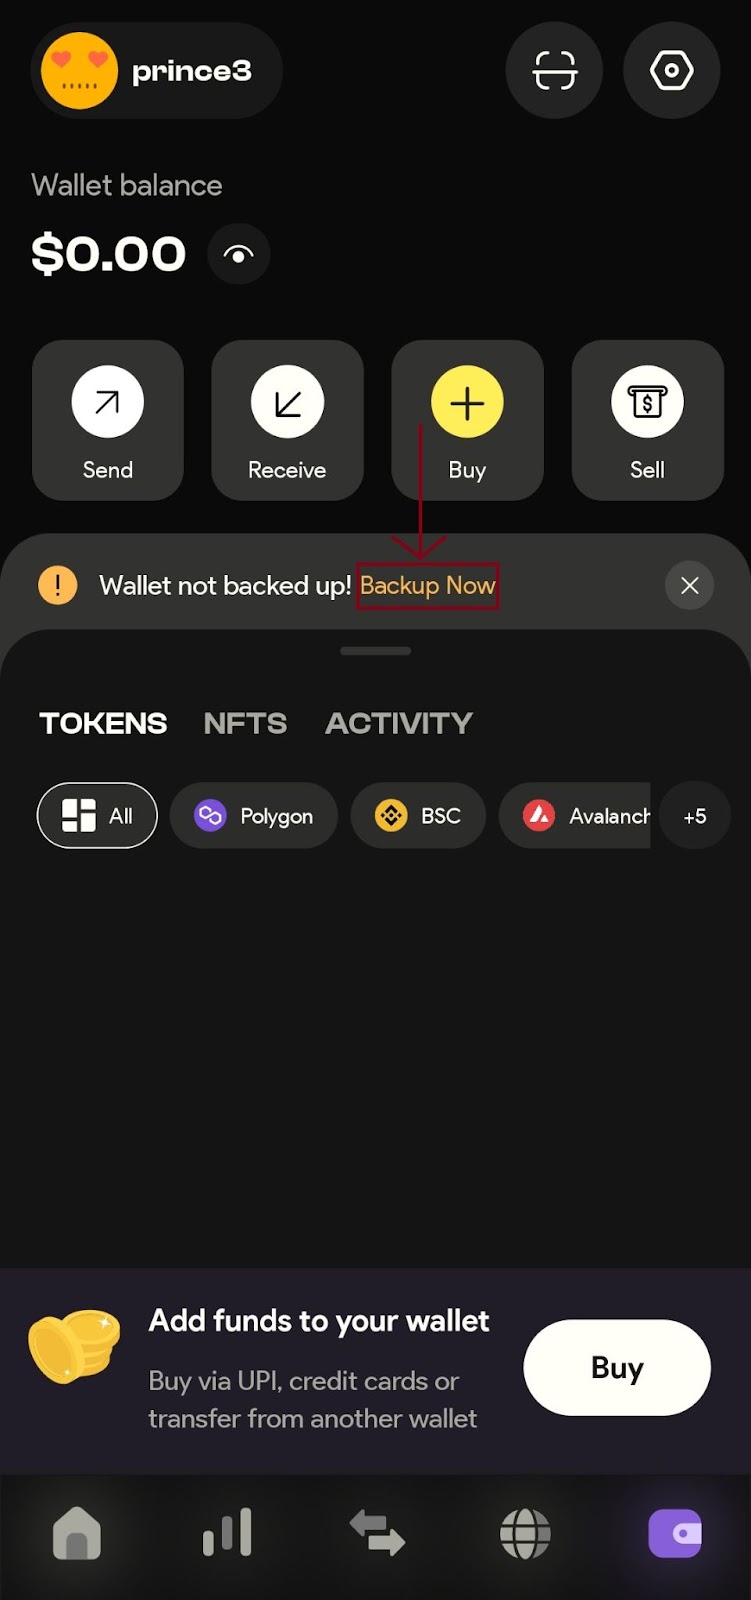
Step 5: Back-Up Your Security Phrase
It is crucial to back up your security phrase to ensure you can access your wallet in the future. Navigate to your wallet screen and click on the option to back up your security phrase.
Step 6: Copy and Save the Secret Phrase Securely
Click on "Copy" to save your secret phrase. Ensure you store this phrase securely, as it is essential for recovering your wallet if needed.

Step 7: Wallet Ready to Use
Once you have completed these steps, your wallet is ready to use. You can now start managing your digital assets with Plena Wallet.
Importing an Existing Wallet
Step 1: Click on the Import Wallet Button
If you already have a wallet and want to import it into Plena Wallet, start by clicking on the "Import Wallet" button on the main screen.

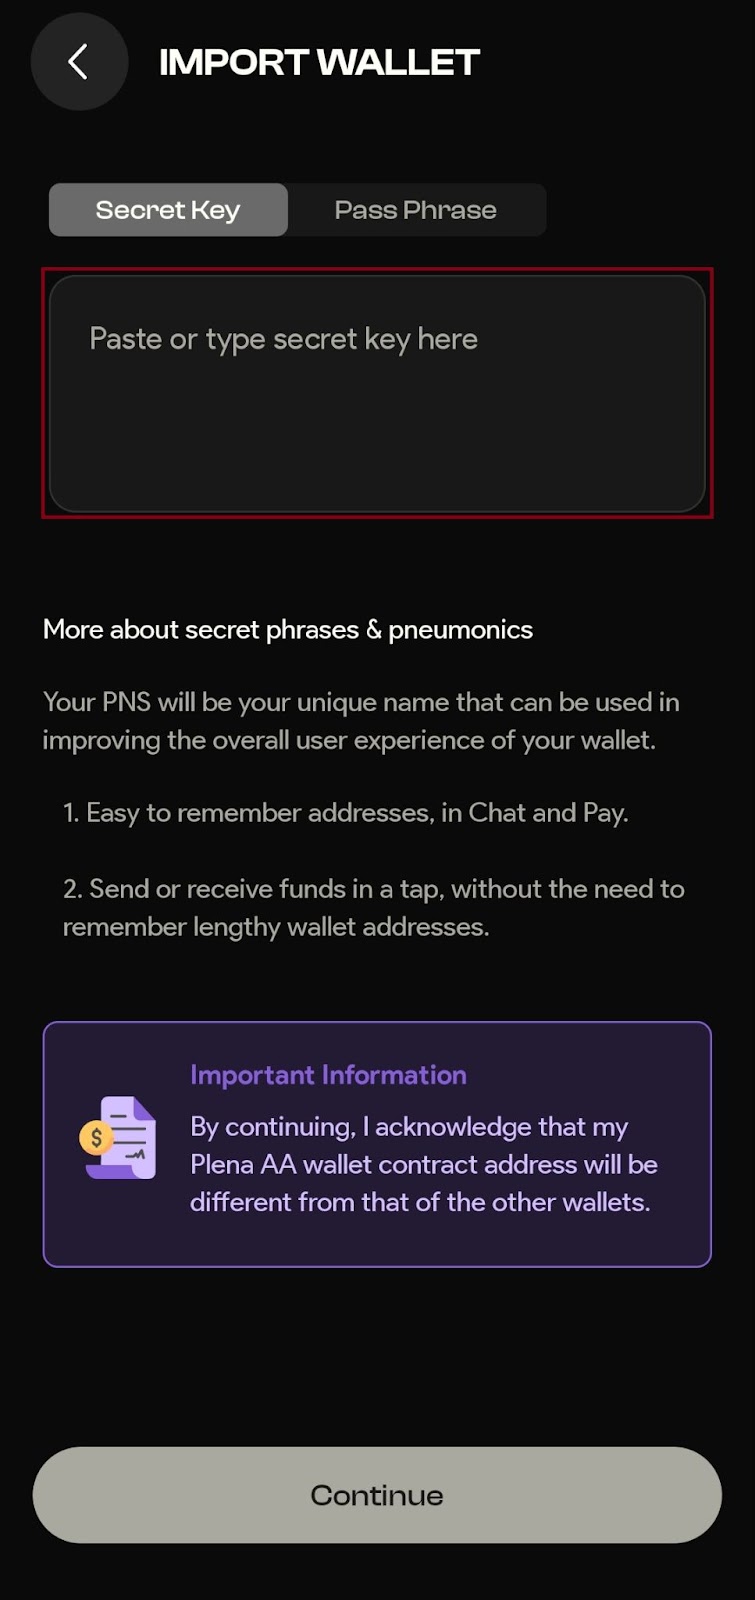
Step 2: Enter Your Secret Key or Passphrase
You will be prompted to enter your secret key or passphrase associated with your existing wallet. Input the required information and click on the "Continue" button.
Step 3: Set Up Your PIN Code
Next, set up a PIN code for your imported wallet. This will add an extra layer of security to your wallet.
Step 4: Wallet Ready to Use
Once you have set up your PIN code, your imported wallet is ready to use. You can now access and manage your digital assets through Plena Wallet.
Logging In with a Social Media Account
Step 1: Select Your Preferred Social Media Account
Plena Wallet offers the convenience of logging in with a social media account. Select your preferred account from Google, Facebook, or Twitter.

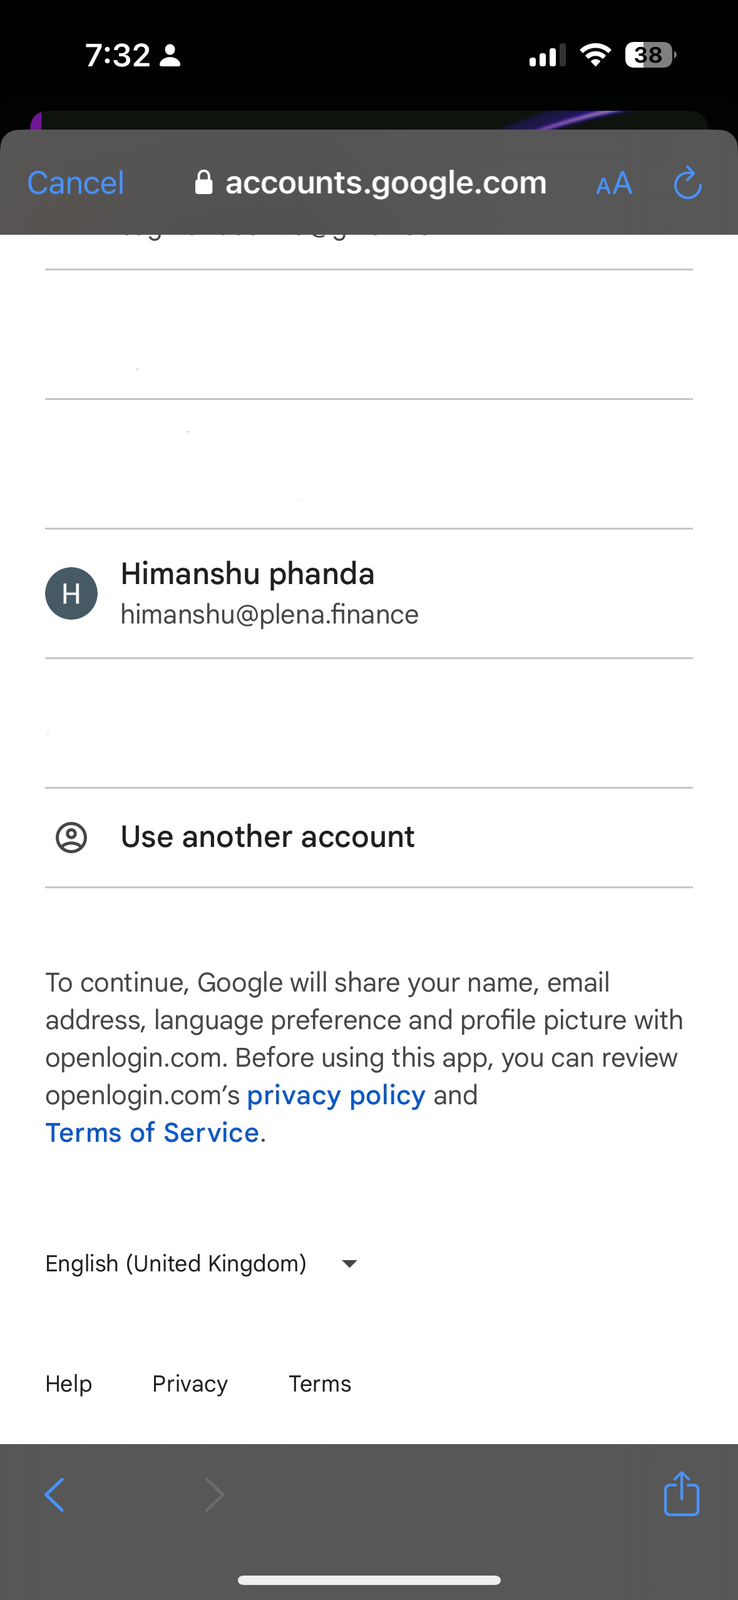
Step 2: Log In with Your Chosen Account
You will be redirected to log in with your selected social media account. Enter your credentials to proceed.
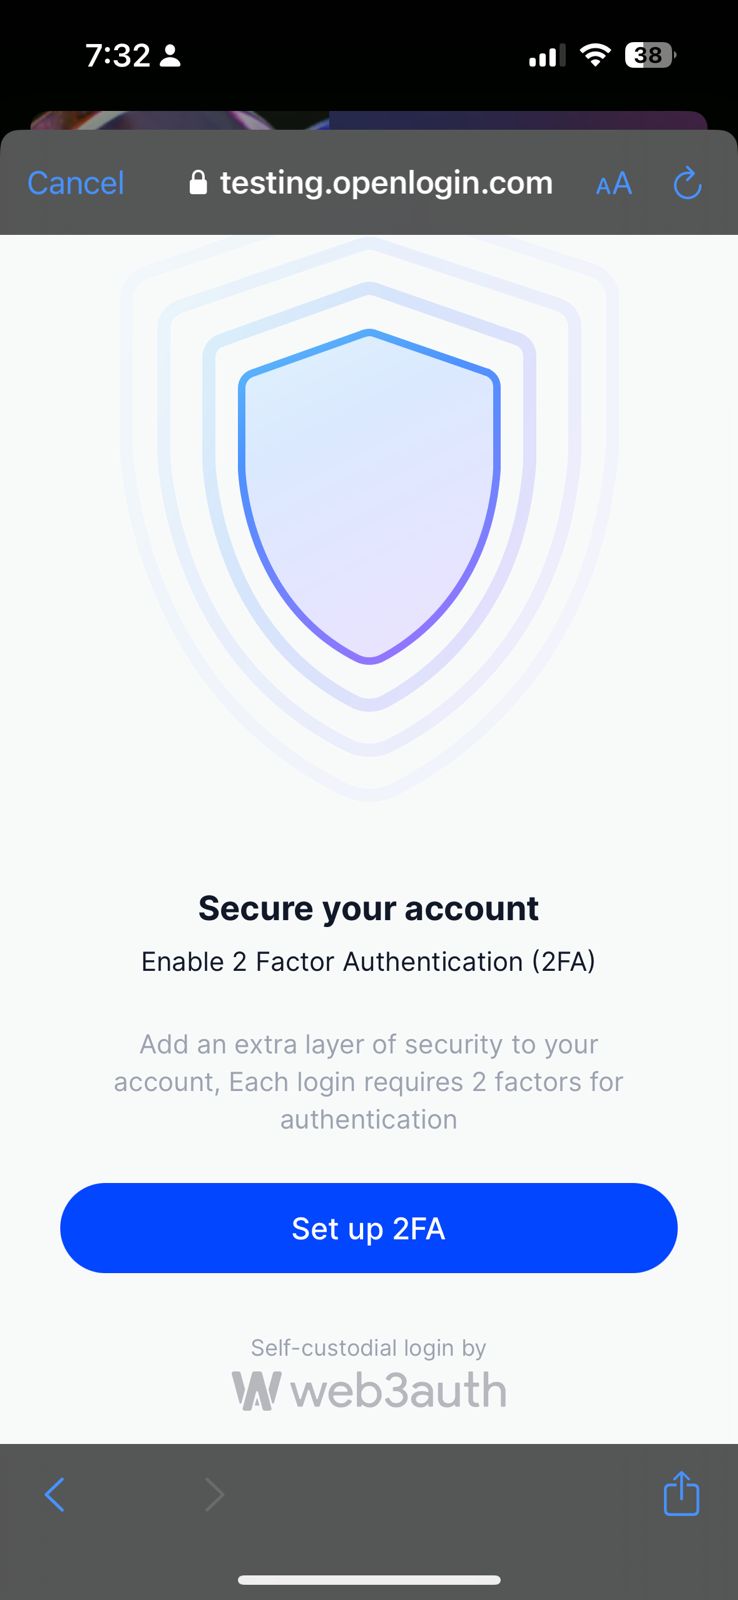
Step 3: Set Up Two-Factor Authentication (2FA)
After logging in, you will be prompted to set up two-factor authentication (2FA) for additional security. Follow the on-screen steps to complete the 2FA setup process.
Step 4: Enter Your Desired PNS
Once 2FA is set up, you will be asked to enter your desired PNS for the Plena ecosystem. This unique name will help streamline your transactions.
Step 5: Set Up Your Passkey
Finally, enter and confirm your passkey. This will be used alongside your 2FA to secure your account.
By following these detailed steps, you can easily set up and secure your account with Plena Wallet, whether you are creating a new wallet, importing an existing one, or logging in via social media.


